Use CustomMultiChildLayout to create any layout you can imagine!
This time, it is the LT material for the FlutterKaigi2024‘s Eve Festival.
The proposal is Here!
As with iOSDC2024, this document can be viewed on TestFlight, so if you have the iOS/iPadOS app, you can download it and view it.
https://testflight.apple.com/join/s5j2zJbS

This time, the Flutter UI is displayed inside SwiftUI.
The function to display the Flutter UI natively does not seem to be supported on macOS yet, so the slides for this presentation cannot be viewed on the macOS version of the app (Reference)
In this presentation, we will introduce how to implement complex layouts using CustomMultiChildLayout with some examples!
What is CustomMultiChildLayout?
CustomMultiChildLayout is a widget container that controls the layout of multiple widgets and places them in any position.
You can create things like columns, rows, and stacks, and since you assign an ID to each widget, you can specify conditions for each ID.
You can also specify the size and position of child widgets taking into account the size of the parent widget.
The characters are as follows.
- MyCustomLayoutDelegate
- Specify the control conditions for widgets to be passed to children of CustomMultiChildLayout
- performLayout
- Specify specific conditions with the method of MyCustomLayoutDelegate
- Use the layoutChild method to specify the size, and the positionChild method to specify the position.
- shouldRelayout
Specify whether to recalculate the layout.
In the next section, we’ll show you some implementation examples.
Circle Ring
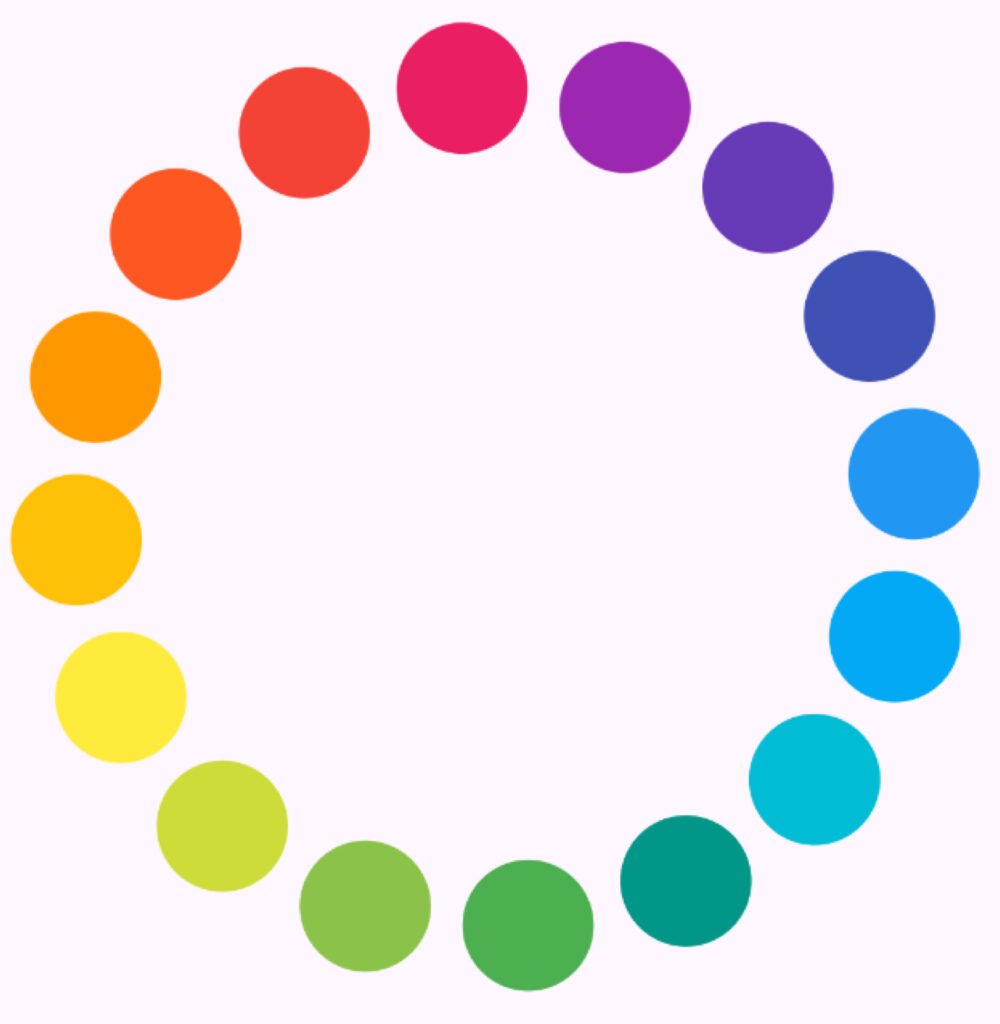
The sample code is here
The following is the processing of the performLayout method of MyCustomLayoutDelegate
final int count;

@override
void performLayout(Size size) {
  // Calculate the radius of a circle
  final radius = math.min(size.width, size.height) / 2;

  // Calculate the angle between each widget
  final angleIncrement = 2 * math.pi / count;

  for (var i = 0; i < count; i++) {
    // Calculate the size of the widget
    if (hasChild('child$i')) {
      final childSize = layoutChild('child$i', BoxConstraints.loose(size));

      // Calculate the center of a widget
      final angle = angleIncrement * i - math.pi / 2;
      final xPos = math.cos(angle) * (radius - childSize.width / 2);
      final yPos = math.sin(angle) * (radius - childSize.height / 2);

      // Positioned at coordinates calculated from the center
      positionChild(
        'child$i',
        Offset(
          size.width / 2 + xPos - childSize.width / 2,
          size.height / 2 + yPos - childSize.height / 2,
        ),
      );
    }
  }
}
The following code is the code that uses the CircleLayoutDelegate implemented above.
CustomMultiChildLayout(
  delegate:
(
    childCount: children.length,
  ),
  children: [
    for (int i = 0; i < children.length; i++)
      LayoutId(
        id: 'child$i',
        child: children[i],
      ),
  ],
);
Piano UI
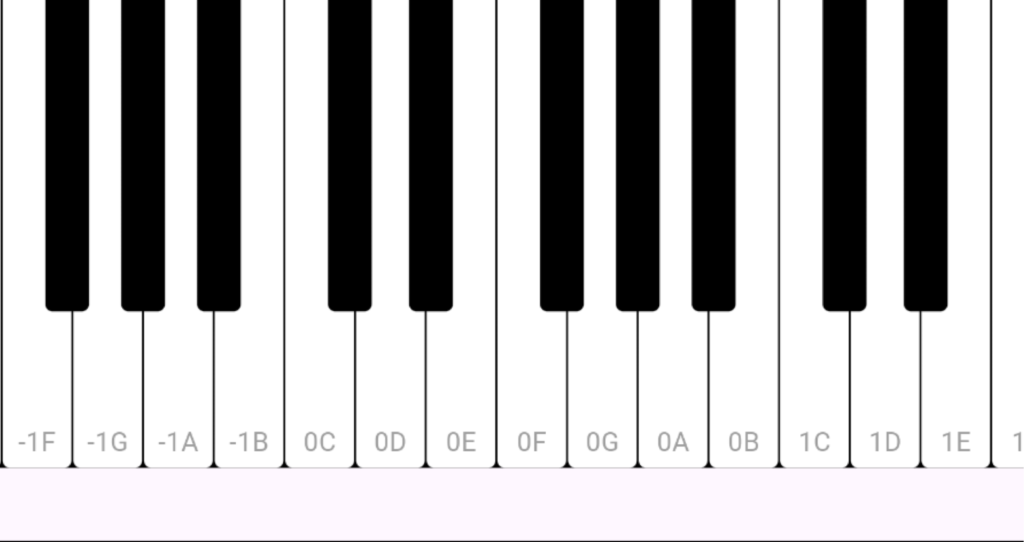
The sample code is here
This is the same mechanism used to implement the piano UI in Flutter as the SwiftUI presented in the iOSDC2024 LT mentioned above.
The basic UI mechanism is the same as the one implemented in Swift, so please check the following article and the sample code above for details on how it works.
Also, the previously mentioned Flutter CustomMultiChildLayout and SwiftUI Layout Protocol have similar mechanisms, but there are differences, so we will highlight those differences below.
| CustomMultiChildLayout(Flutter) | Layout Protocol (SwiftUI) |
| You can check the existence of each Subview by passing its ID to hasChild | Since no explicit ID is set for each Subview, it is difficult to strictly check its existence |
| You can explicitly specify the timing of redrawing with shouldRelayout | Depends on the lifecycle of the View and the timing of changes to the State being used |
| The parent Container can be calculated using LayoutBuilder, but the size cannot be determined based on the Child | The size of each Subview can be obtained → You can specify the size of the widget in the parent container according to the size of the subview. |
| The widgets overlap in the order they are passed to children, so you need to control them in that order. | There is a zIndex modifier, so it is easy to control the order in the z-axis direction. |
Google Calendar-style timeline UI
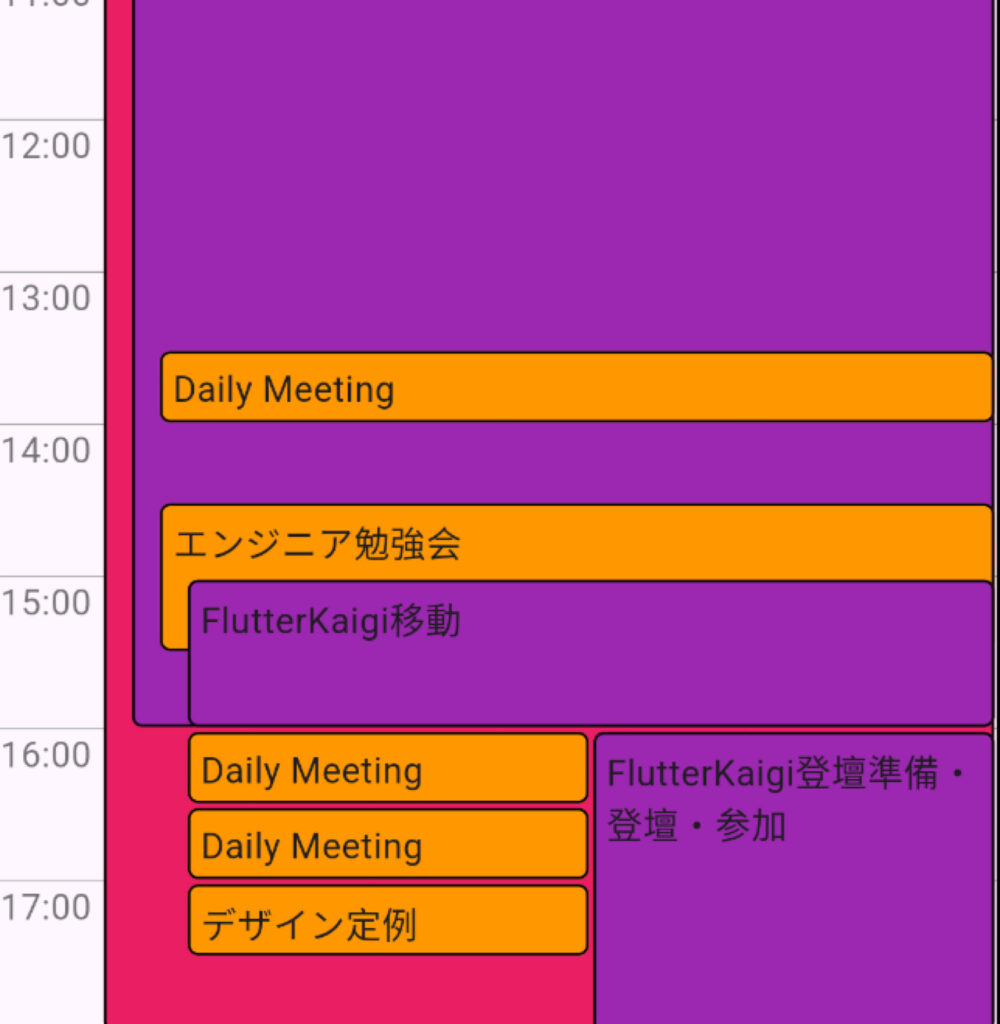
The sample code is here
The UI works as follows
- Convert each calendar event into a class called CalendarItem.
- The above classes have a zIndex item, which determines which level they are displayed at
- The higher the level, the wider the left margin is
- CalendarMultiColumnType is also available, which allows you to set multiple events at the same time as event columns.
- The CalendarEventType field allows you to express the type of event, such as work, family, or personal events.
Based on this, I implemented CalendarUiWidget.
This time, I’m focusing on UI implementation, so I don’t have the logic to convert each event above into a CalendarItem, but if you implement it, you can reproduce the UI above.
(However, if you use Google Calendar, you will know that even if you register 10 events at the same time, the event text will not be visible, but the frame itself will be displayed correctly, so if you take such rare cases into account, I think it will be difficult to improve the completeness.)
Ring Circle (Animation)
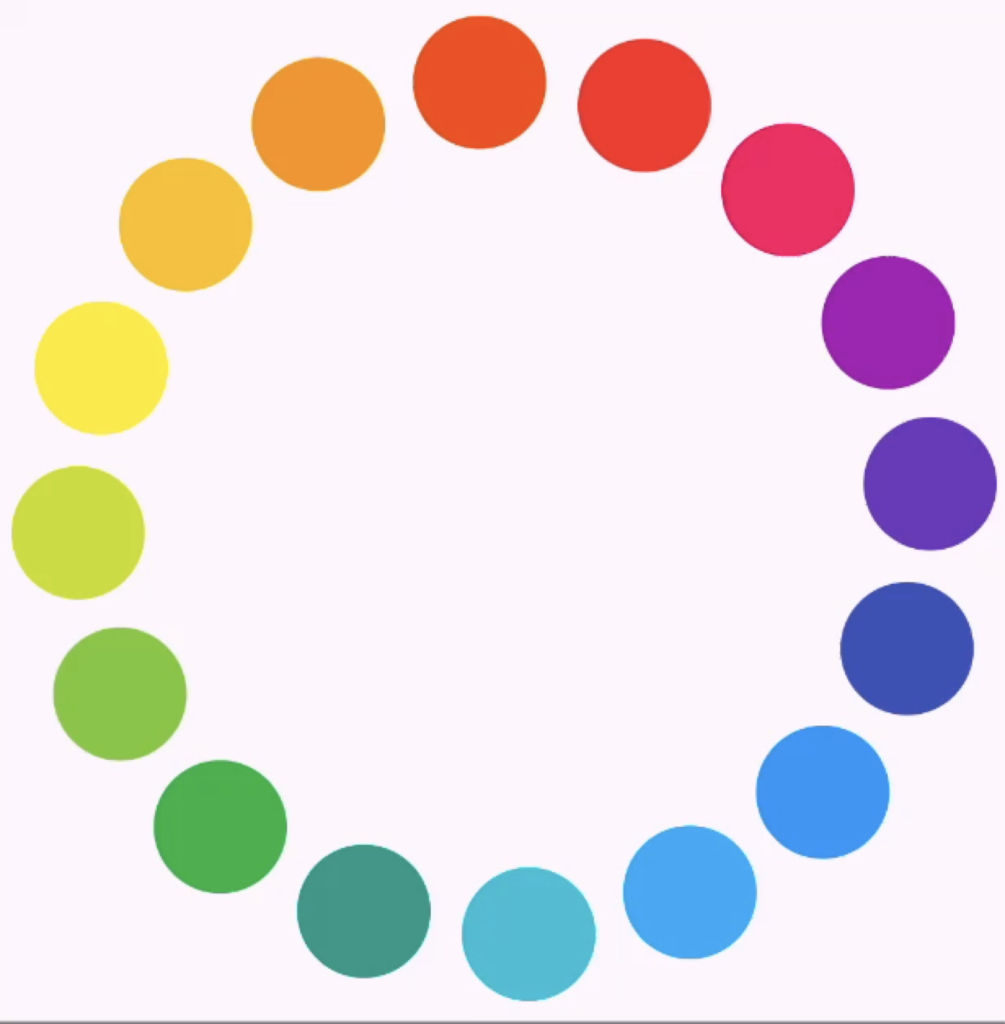
Finally, we will implement an animation that moves the display of the ring clockwise.
- Using AnimatedBuilder, we execute an animation that changes the angle to 0->2 * math.pi, and set it to repeat.
- This is achieved by passing the angle to the CustomMultiChildLayout Container.
- Depending on your ingenuity, you can also achieve animations for complex layouts.
Wrap up
I think CustomMultiChildLayout is a powerful ally when you have designs that are difficult to express with existing Widgets or Containers.
However, you need to take performance into consideration when using it, and you need to be careful when scrolling, as it is not optimized like Sliver.
In addition, the learning cost is high, and it is necessary to set and publicize clear rules for operation, so it is best to use it as a last resort when you cannot implement it using the basic usage of Row, Column, and Stack, and be careful not to overuse it.
Reference
- CustomMultiChildLayout class
- https://api.flutter.dev/flutter/widgets/CustomMultiChildLayout-class.html
- FlutterのCustomMultiChildLayoutとCustomSingleChildLayoutの使い方
