Recently, I had the opportunity to touch Xcode Cloud, so I briefly summarized its features, setting methods, and usage!
What is Xcode Cloud?
Xcode Cloud is a so-called CI, and like GitHub Actions, Bitrise, CircleCI, Azure Pipelines, etc., it is a continuous integration delivery service, in which you can perform tests, build execution, and prepare for delivery of the built ipa.
The feature is that it is Apple’s genuine first party, and it can be used in Xcode and AppStoreConnect.
I have used GitHubActions, Bitrise, AzurePipelines CI at the moment
Compared to that, I think it has the following features and advantages.
- Automatically manage certificates and ProvisioningProfiles
- Easy to set ipa upload to TestFlight
- No need to set up API Keys or prepare Fastlane tools!
- Since it is built into Xcode and AppStoreConnect, you can also check CI settings, execution status, and history from your usual development tool.
- Fast compliance with updates to app development tools, etc.
- Simple configuration of CI execution triggers
- AzurePipelines has quite a few peculiarities such as setting triggers when creating a PR, so I think it is intuitive and easy to understand.
These are mainly advantages of being a first party, but I always felt that 1 and 2 were troublesome when setting up CI, so I think it would be worth incorporating just by automating this.
Disadvantages I found were:
- Since it is a new service, there is little information
- It is difficult to understand the contents of the error when the setting is mistaken
- less customizable
- It is essential to execute actions such as Build, Test, Archive, etc. For example, it is not possible to execute only SwiftLint
- Constraints on custom script execution timing
- Cache control is basically impossible except for SPM
- Git management of configuration files is not possible
- Difficult to apply different settings for each branch
- What if I want to apply a different Xcode version to each branch?
- Difficulty setting up ThirdParty’s tools
- For example, with Bitrise, etc., you can install CocoaPods with preset functions, but it is difficult with Xcode Cloud at the moment.
- CocoaPods and Carthage cache management is difficult, so library management should be handled by SPM.
- It seems better not to use Fastlane as much as possible
It’s a new service so there’s not much information yet, so it can’t be helped
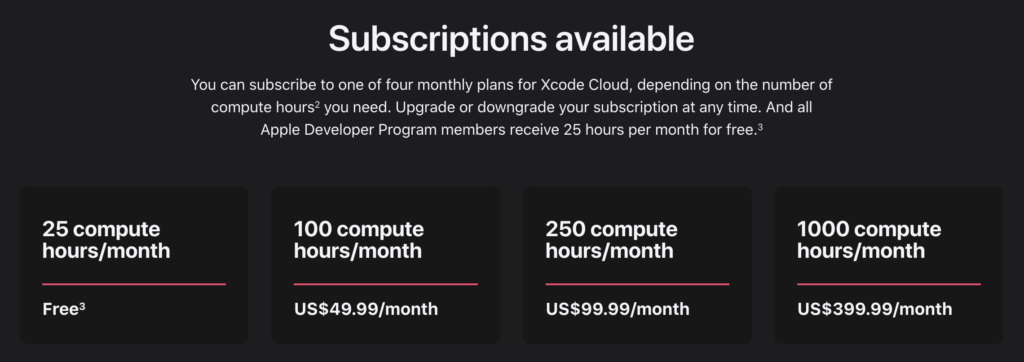
Currently, those who are registered with Apple Developer can run for free up to 25 hours a month (reference)
This time, based on the above characteristics, I would like to use it with the following policy
- Used for distributing TestFlight apps
- Trigger is a push to a branch such as develop (PR trigger is not used)
- Do not run on Feature branch etc.
- UnitTest execution utilizes another CI
The reason is that the free execution time is limited, so in order to take advantage of the automatic management of certificates, which is the advantage of XcodeCloud, it is used only for distribution to TestFlight.
The reason why it is not executed in the Feature branch etc. is to reduce the execution time
Since UnitTest runs on the basic simulator, there is no need for certificate management, so it is very easy to set up with other CI services.
How to set up Xcode Cloud
Next, let’s actually use XcodeCloud with existing apps
This application is uploaded to XcodeCloudSample.
This app is an SPM-based configuration app written in an existing article.
Initial settings for Xcode Cloud
XcodeCloud can be set with Xcode and AppStoreConnect, but I think that I usually use Xcode more often, so I will proceed with setting with Xcode
Actual settings etc. can be done in more detail with AppStoreConnect
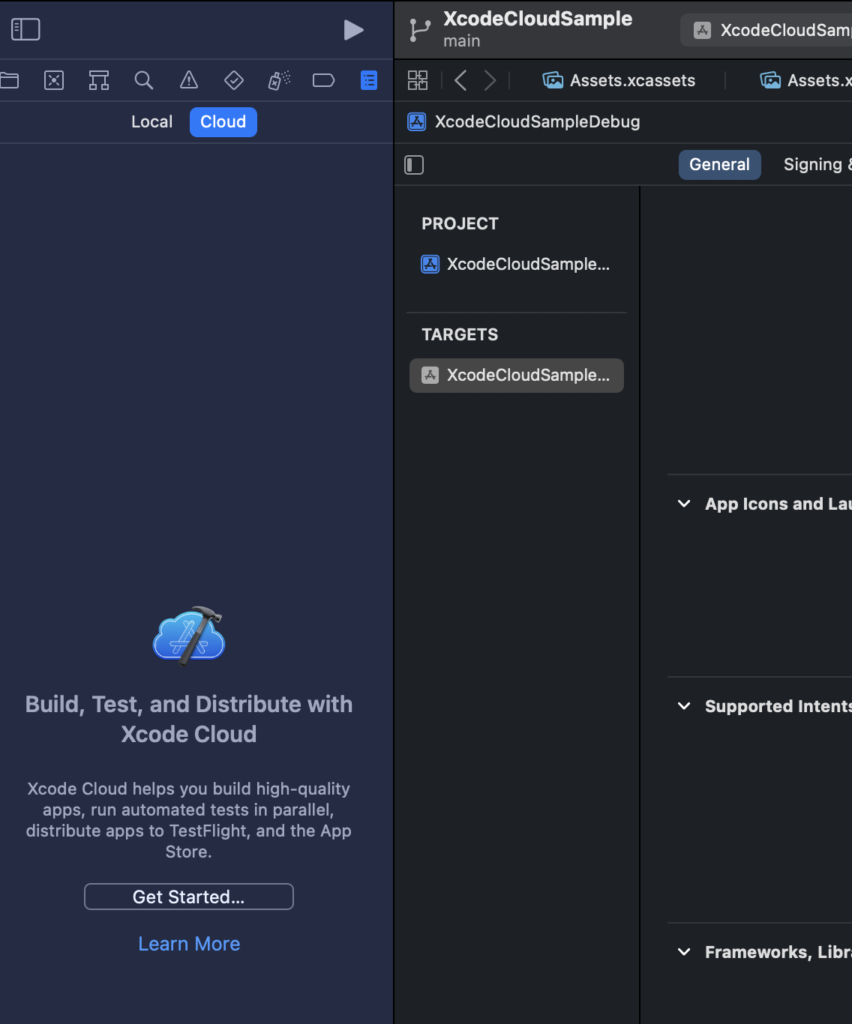
First, open the Cloud tab on the rightmost tab in the left menu of Xcode and click Get Started.
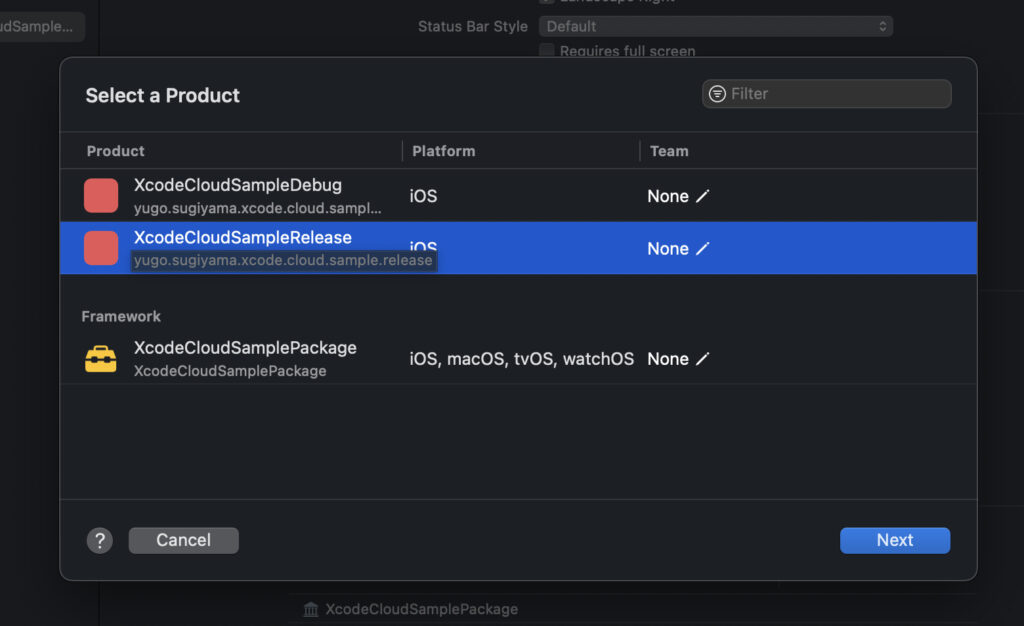
Then select which app to build.
This time, from the two apps for Debug and Release, select the Release app to be delivered by TestFlight.
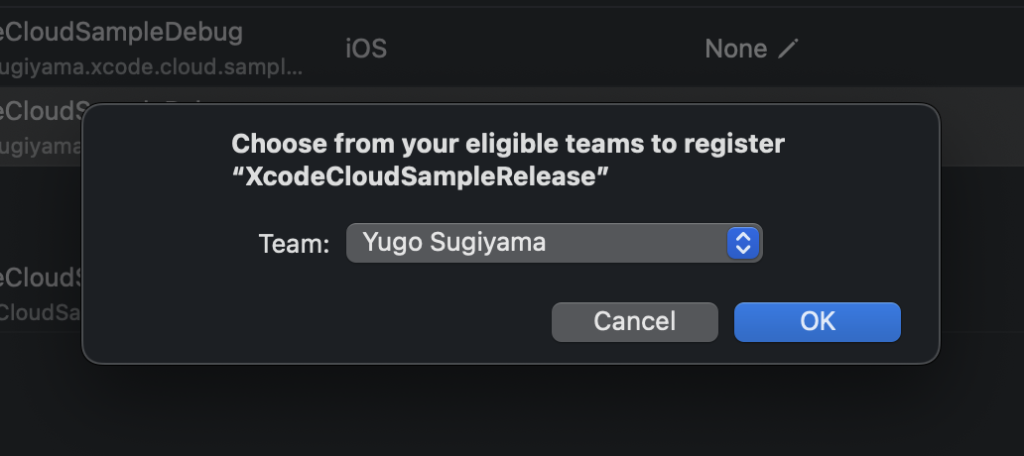
If Team is not selected, you will get the following alert
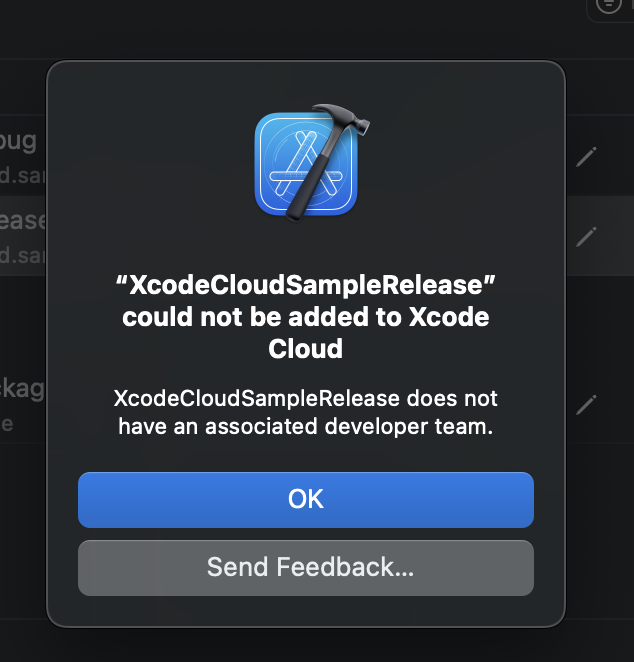
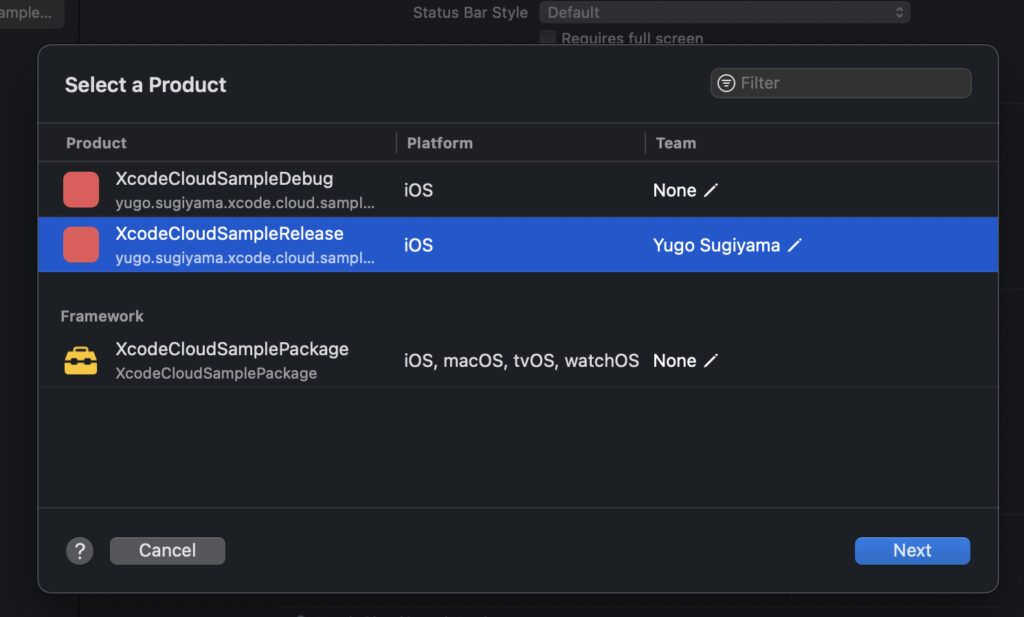
You can choose which Team to use by selecting where the ✎ icon is
Click Next
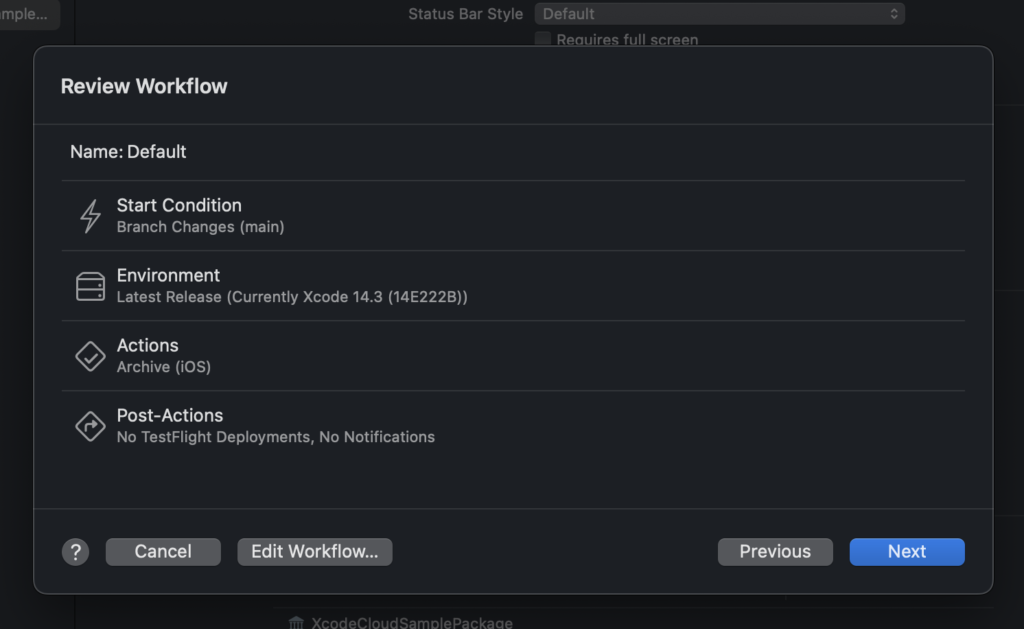
The following screen will appear, just click Next
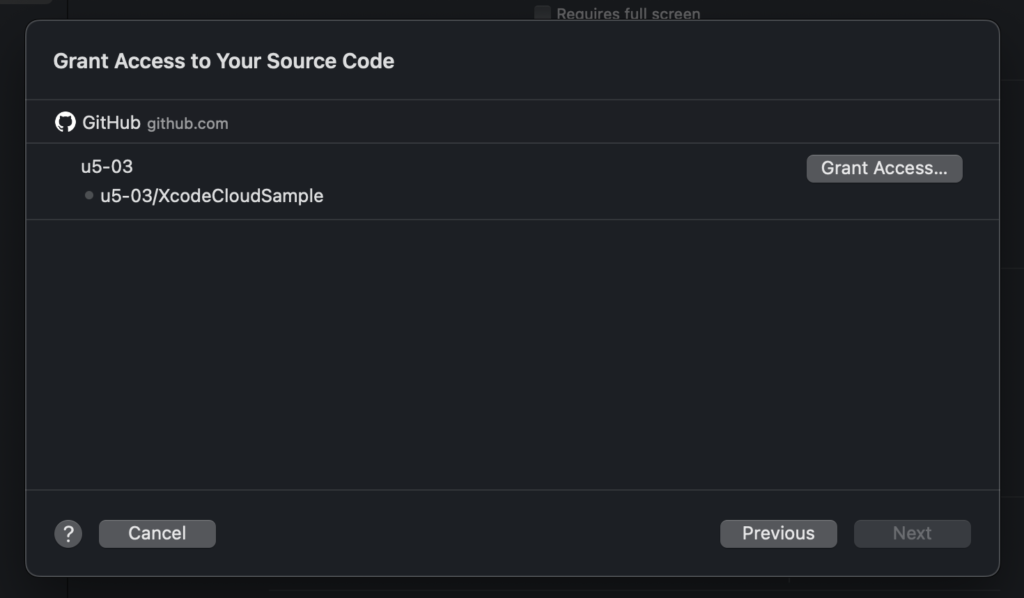
Next, a lead to the GitHub setting screen will appear, so click Grant Access.
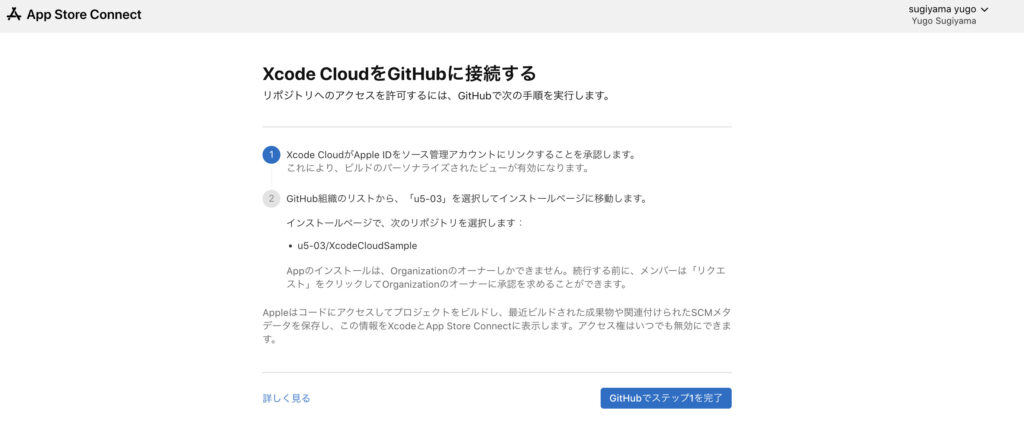
Click to automatically display the AppStoreConnect screen in your browser
Just click Finish Step 1 on GitHub
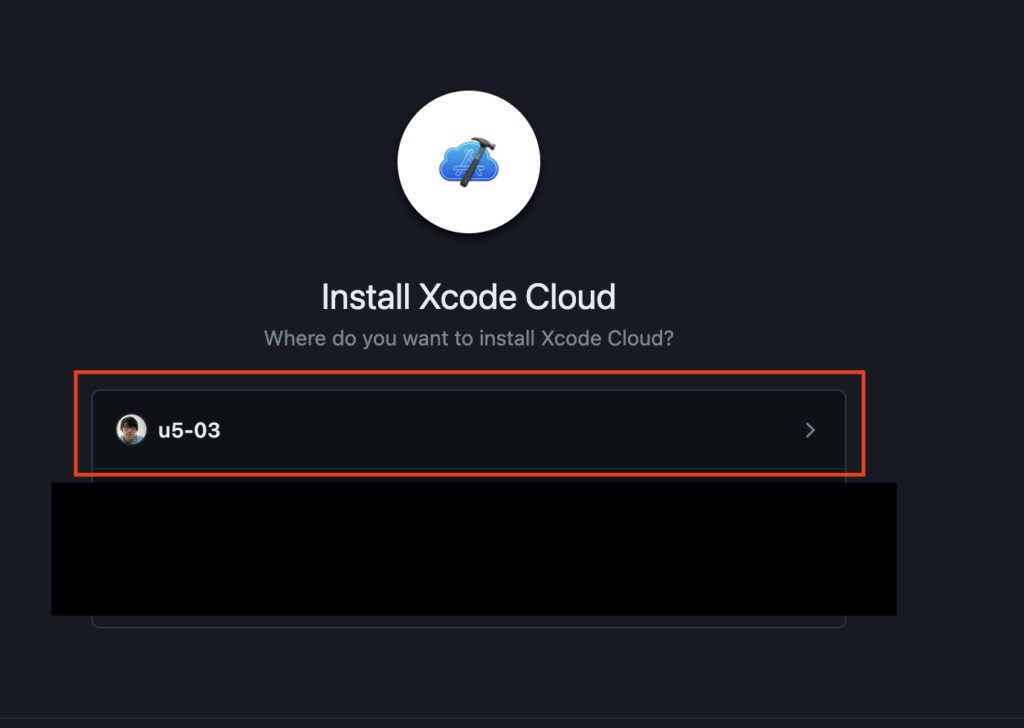
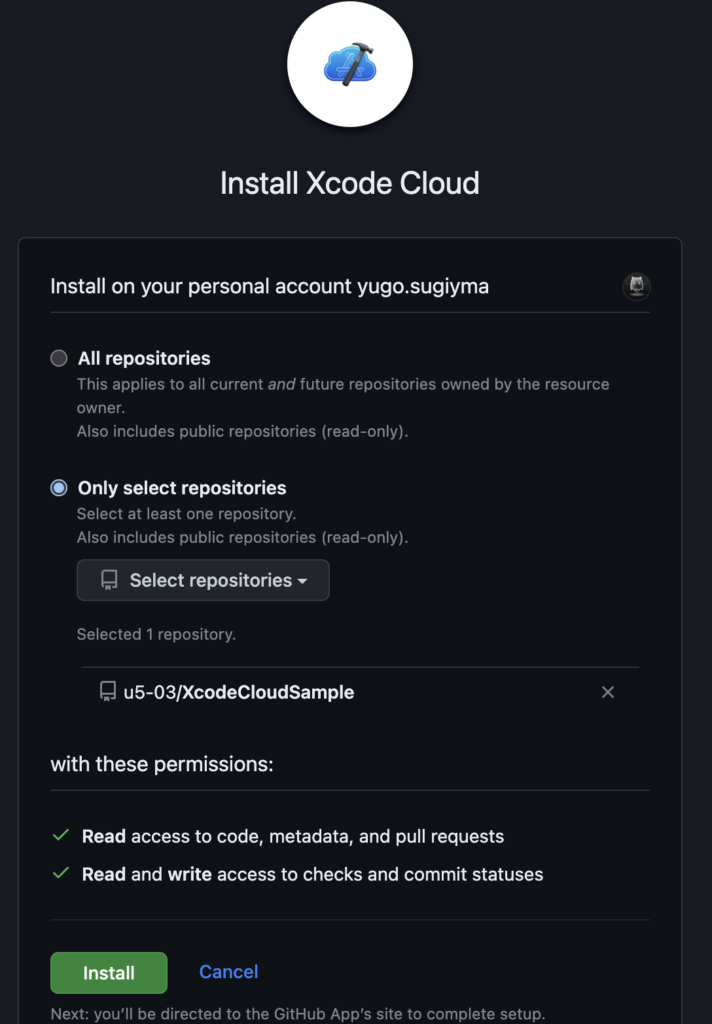
Next, the GitHub screen will be displayed, so select the account where XcodeCloud is installed
This time I will install it on my personal account
Next, check which repository to install
This time, we will limit it to the repository XcodeCloudSample created in the sample
If there is no problem, click Install
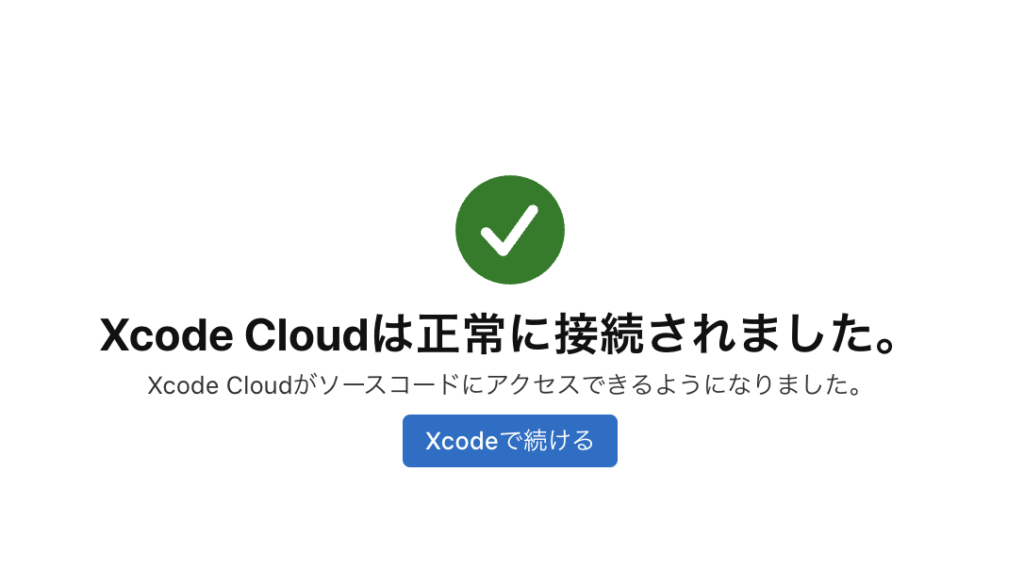
This completes the connection between XcodeCloud and GitHub
Click continue in Xcode
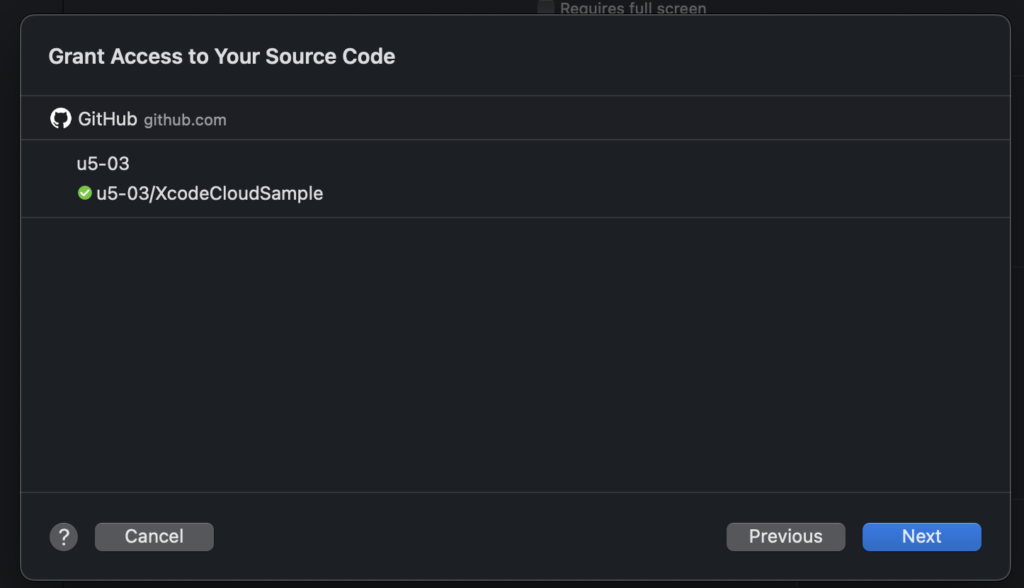
Go back to your Xcode app and click Next when the connection with GitHub is complete as shown below
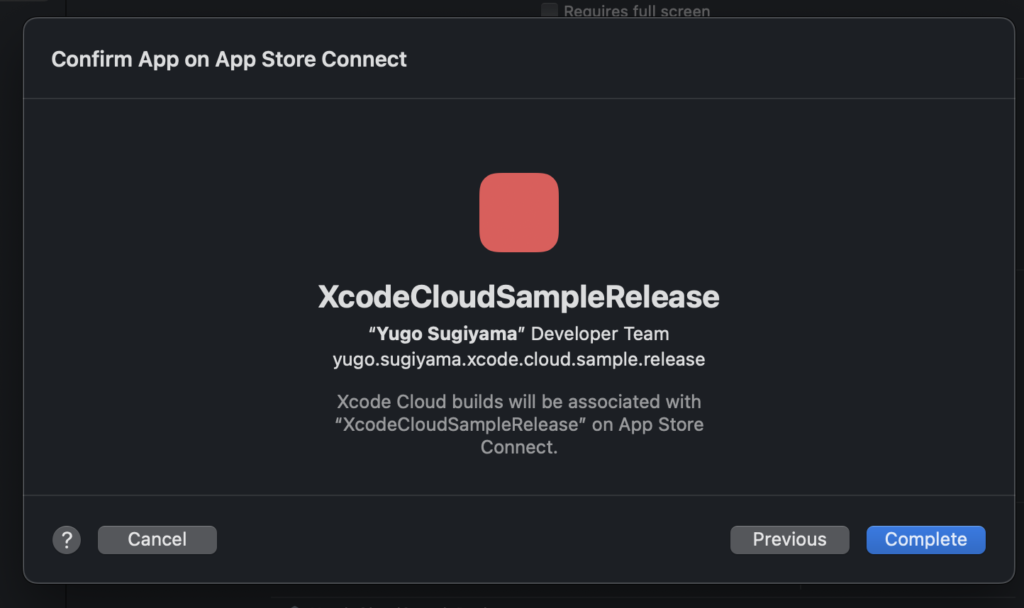
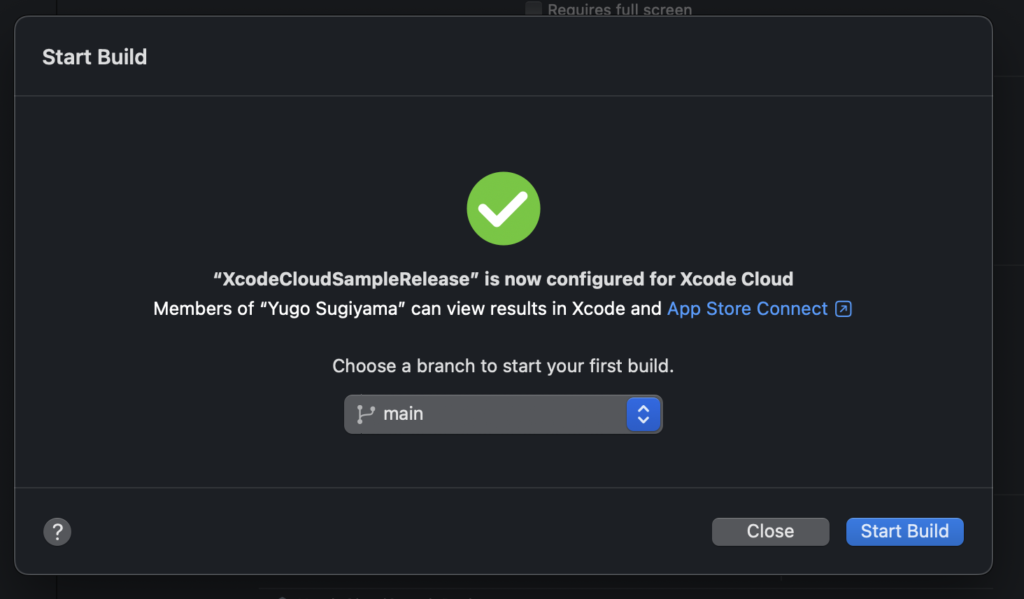
Click Complete
As a test, click Start Build on the next screen and try running XcodeCloud!
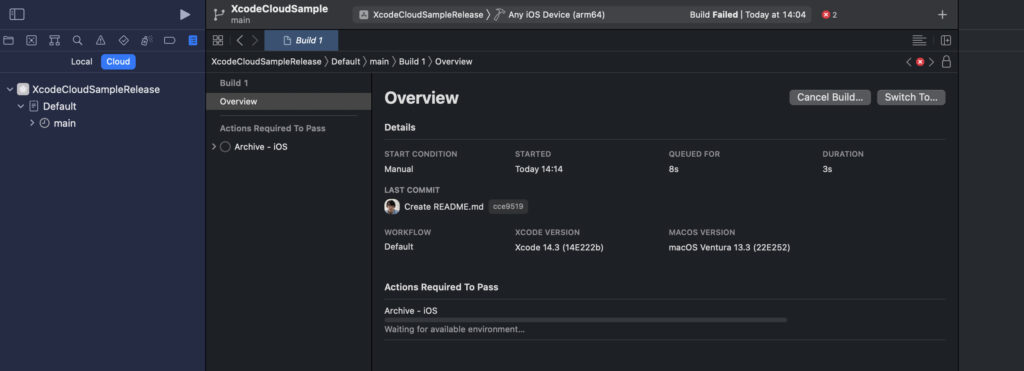
When you run it, you can check the execution status on Xcode as shown below!
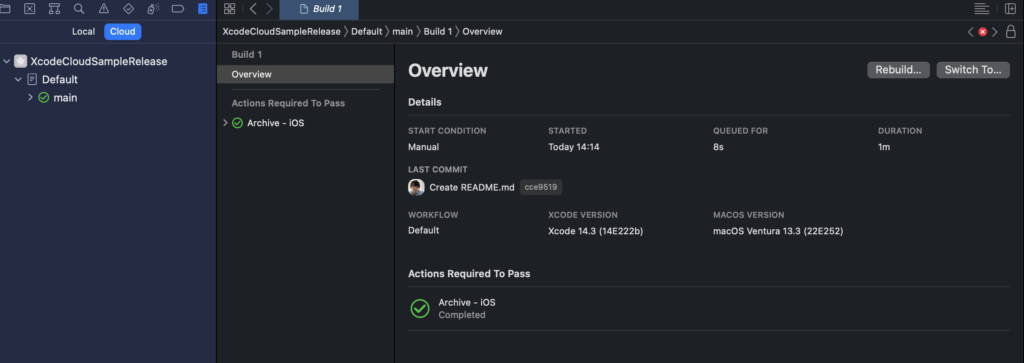
Once done, you will see the results as below!
Creating/Editing Xcode Cloud Workflows
Next, let’s create and edit an XcodeCloud Workflow so that it can be used
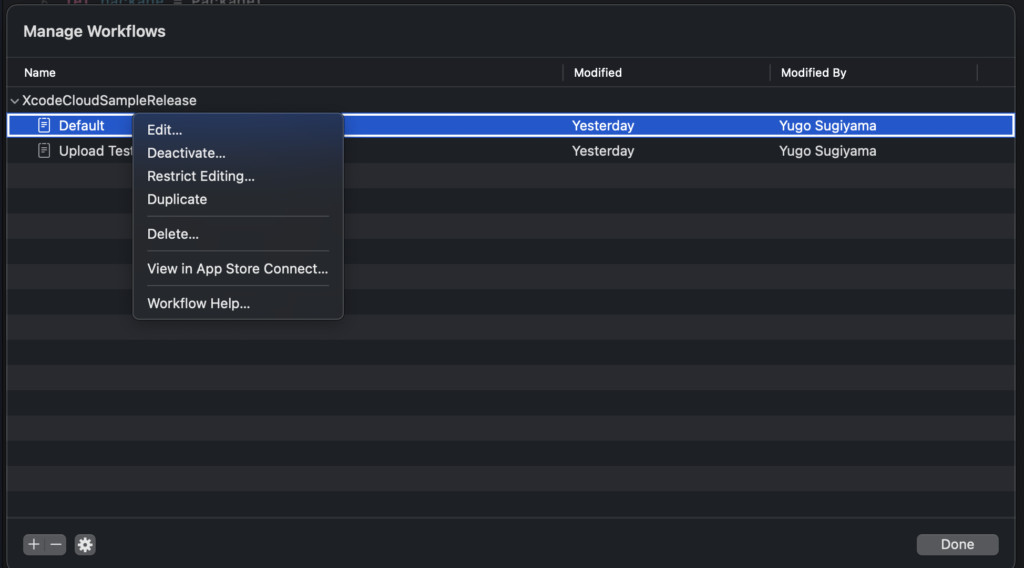
Click Manage Workflows in the XcodeCloud menu
Or you can also set it from Menu > Product > Xcode Cloud

Click to display the following screen
Click + in the bottom left to create a new one
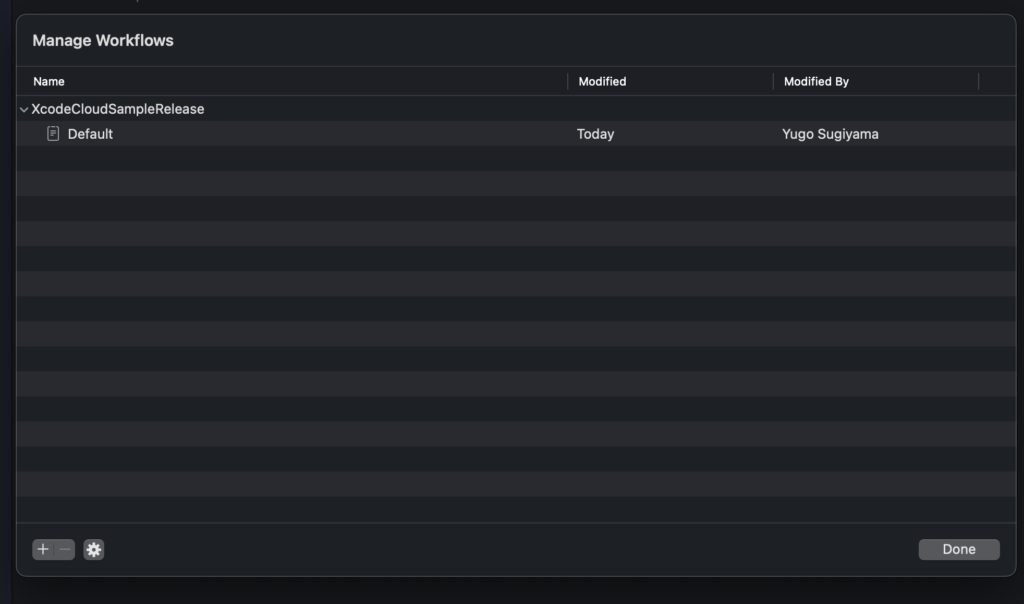
For Edit, select the Workflow you want to edit and click Edit
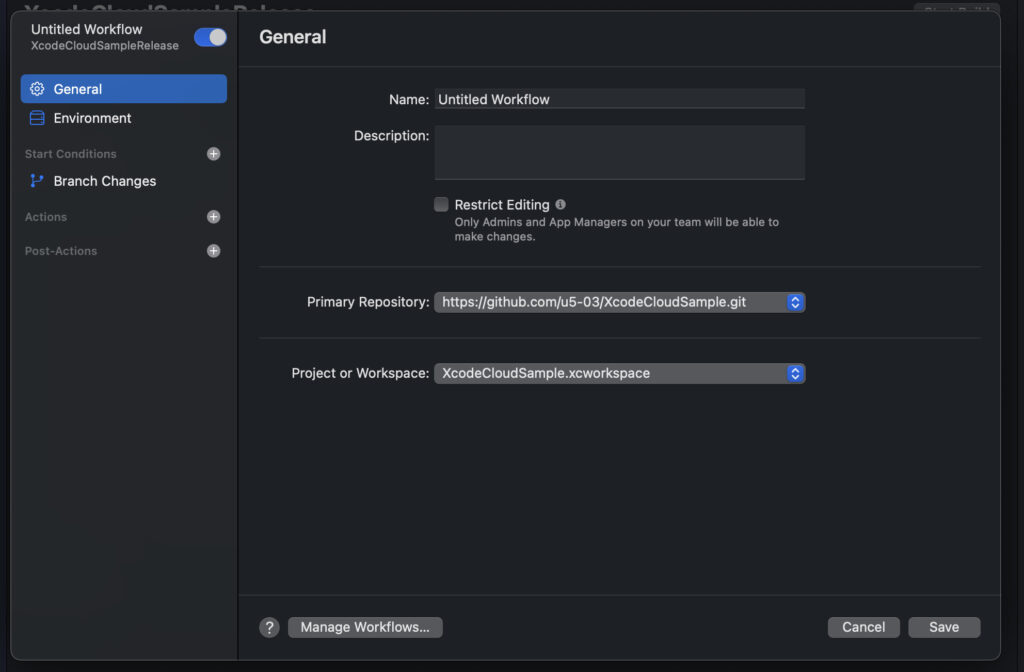
Then you will see a screen like below
In the General menu, you can check and set the Workflow name and details, repository URL, etc.
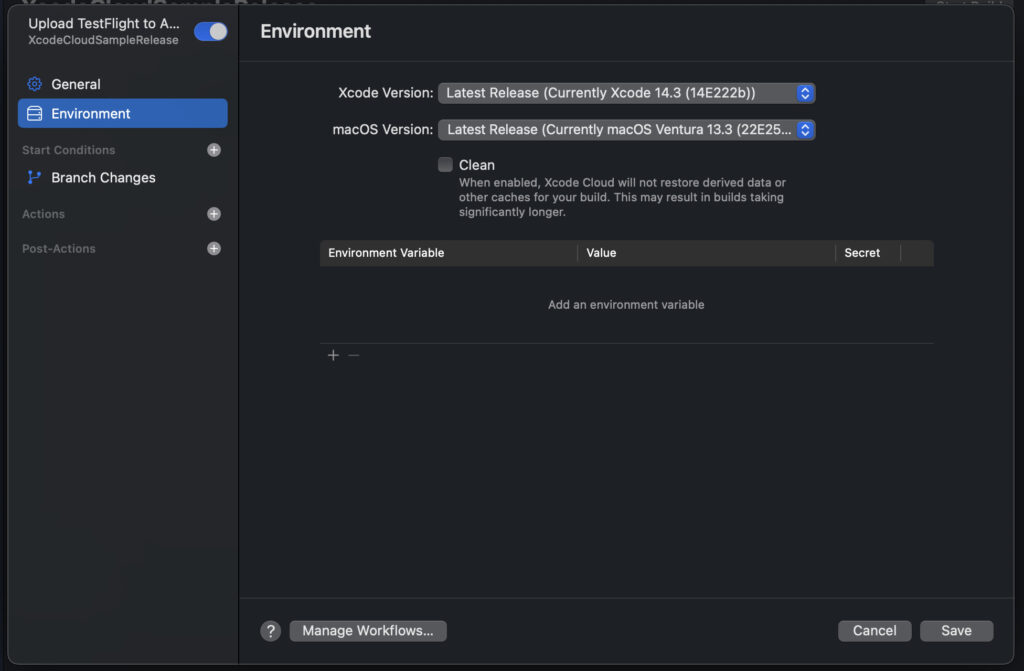
The Environment menu allows you to set Xcode, macOS versions, and environment variables
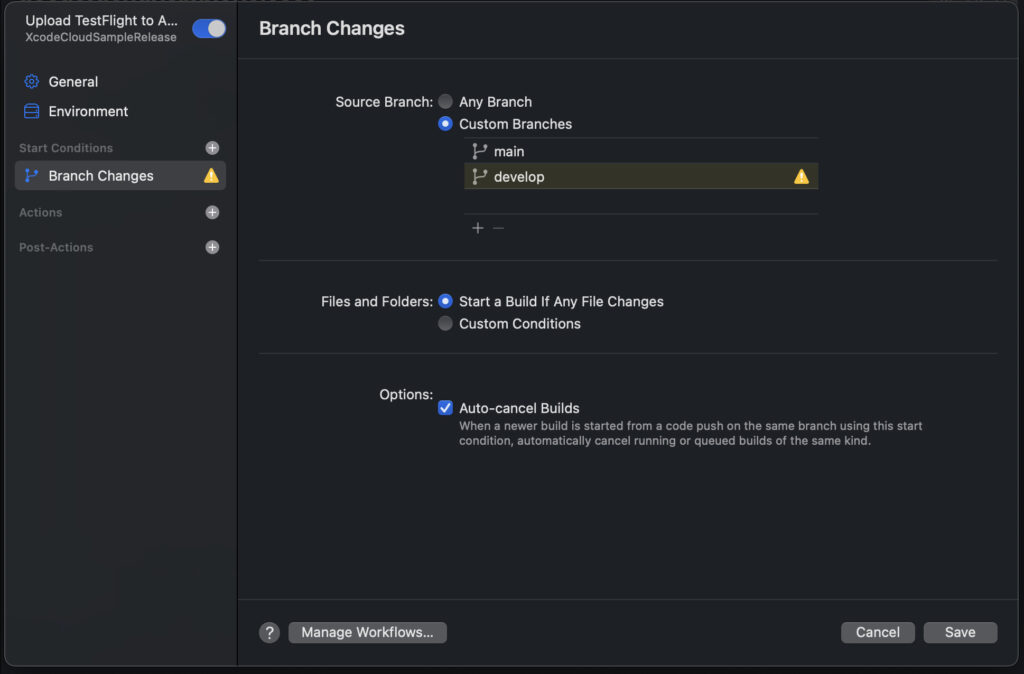
The Start Conditions menu allows you to set triggers for automatically starting Workflows
As a trigger, you can specify ①Branch Changes, ②Pull Request Changes, ③Tag Changes
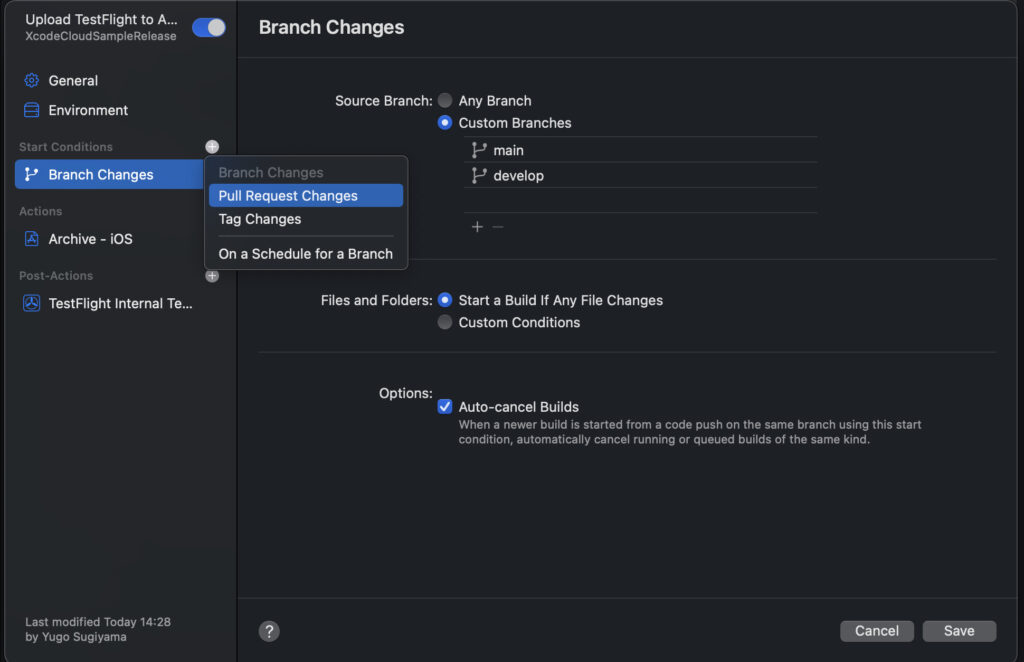
For example, in the case of Branch Changes triggers, you can also specify only pushes to specific branches or file changes with Source Branch, Files and Folders, etc.
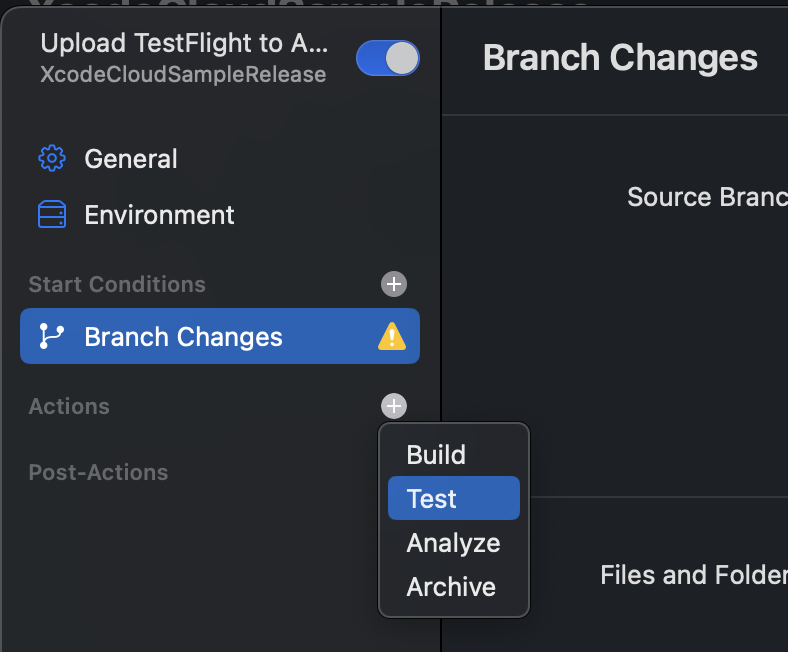
In the Actions menu, click + and you will see that you can add actions like
This time, the purpose is to upload ipa to TestFlight, so add an Archive action
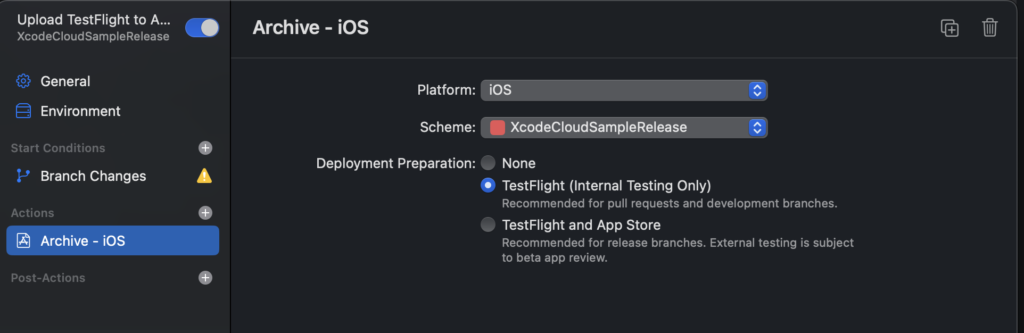
I ended up with the following settings
Deployment Preparation has TestFlight(Internal Testing Only) selected
Post-Actions menu allows you to select actions to perform for the above actions
Currently you can select ①TestFlight External Testing, ②TestFlight Internal Testing, ③Notify
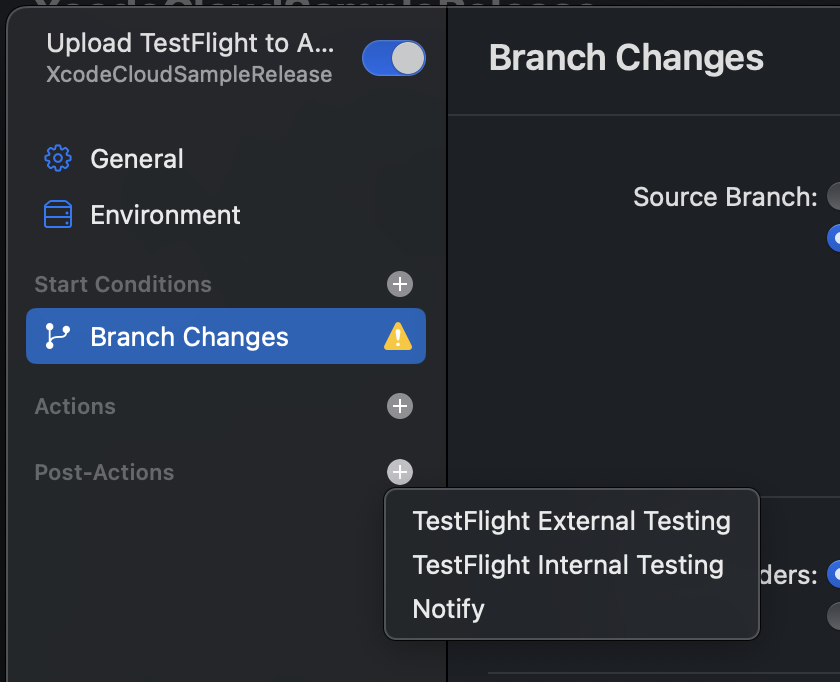
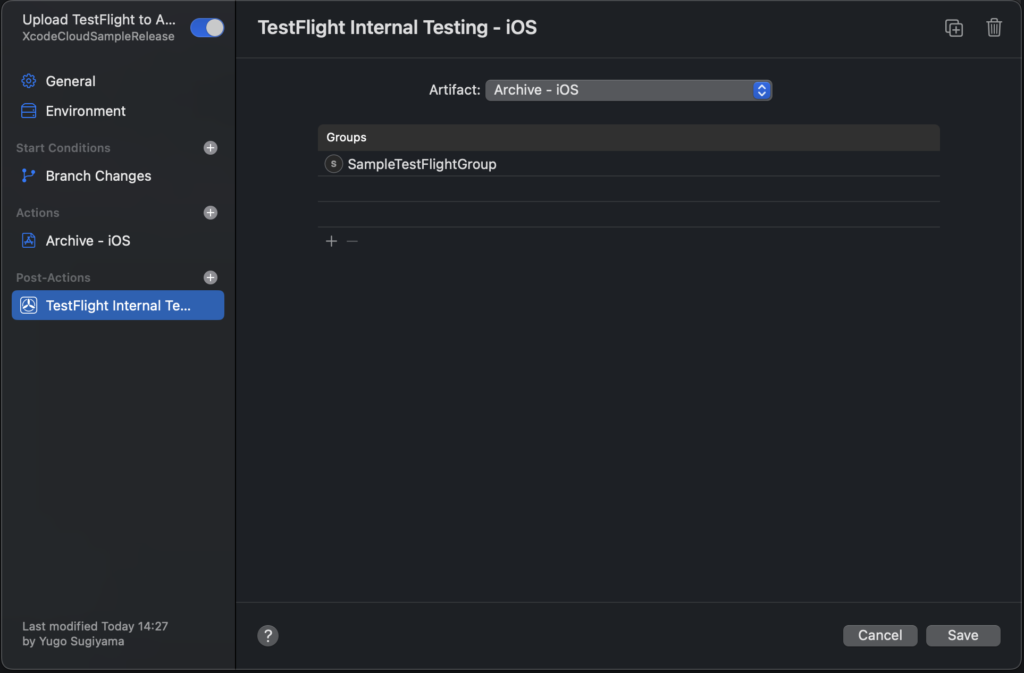
This time it’s for internal testers, so add TestFlight Internal Testing
Specify the Archive-iOS action for the above Action in Artifact
Select and specify the AppStoreConnect TestFlight group for Groups
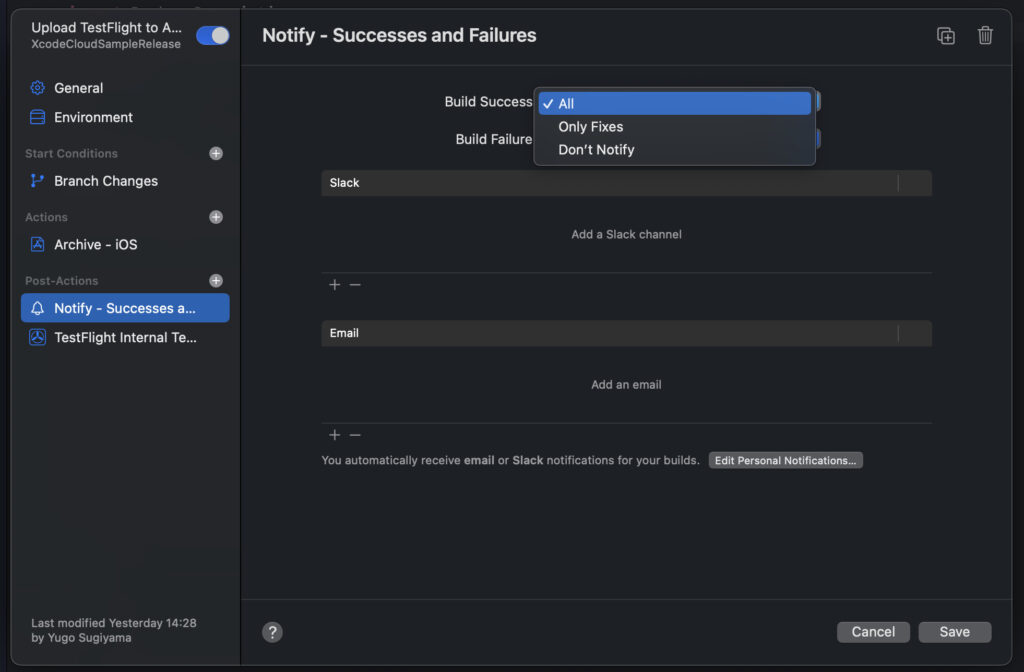
By the way, when you add Notify, the following menu will be displayed.
You can also choose when to notify, and notifications to Slack are also supported as standard.
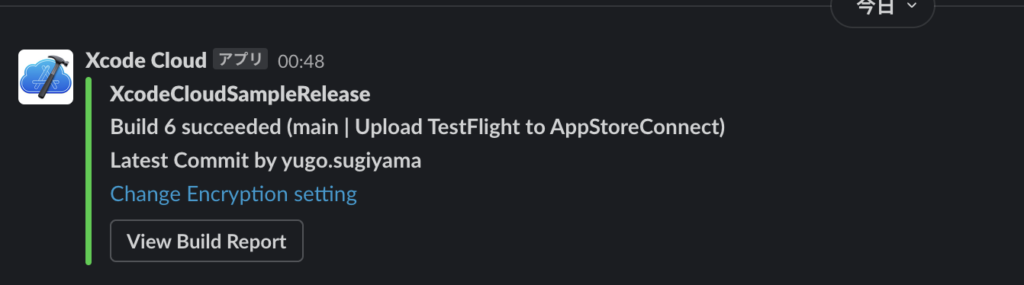
Notifications to Slack look like this
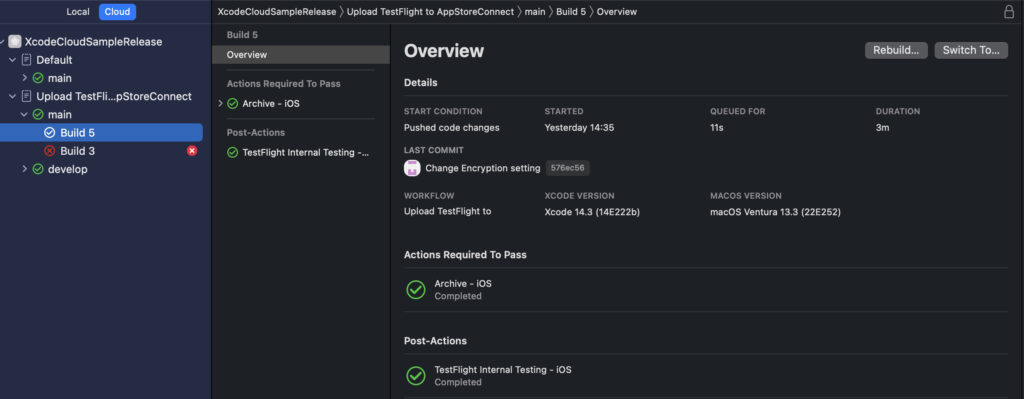
run with this setting

Successful completion looks like this
How to use Xcode Cloud
Environmental Variables
In Xcode, there are various environment variables that can be used in BuildPhase, but there are also environment variables that can be used in XcodeCloud
As described in the Environment variable reference, for example, if you execute $CI_PROJECT_FILE_PATH in this sample application, the output will be as follows
/Volumes/workspace/repository/XcodeCloudSample.xcworkspace
Custom Script
I think there are situations where you want to run various custom scripts such as setup in CI, but XcodeCloud also supports custom script execution
The official documentation is Writing custom build scripts
As shown in the image on the official page below, XcodeCloud can be executed at three timings: (1) after clone, (2) before xcodebuild, and (3) after xcodebuild.

And by creating the following files directly under the ci_scripts directory created in the root directory, the process will be automatically executed
- ci_post_clone.sh
- ci_pre_xcodebuild.sh
- ci_post_xcodebuild.sh
As will be described later, this time we are using ①ci_post_clone.sh and ②ci_pre_xcodebuild.sh
By the way, the execution path is /Volumes/workspace/repository/ci_scripts, so you can move to the root directory by executing cd ..
Other notes/confirmation points
Using the Swift Package Manager’s Plugin
Permission is required to use plugins in SPM
When developing with Xcode, an alert is displayed, and it is OK if you process it there
However, since XcodeCloud cannot operate alerts on the UI, I wrote the following code in ci_pre_xcodebuild.sh referring to XcodeBuildToolPluginをCI上でも使う
defaults write com.apple.dt.Xcode IDESkipPackagePluginFingerprintValidatation -bool YESUsing SwiftGen
In projects using SwiftGen, for example, based on Localize, Color, and Image asset files, swift files are automatically generated to access those resource files, and that enum is often used.
However, in the case of a project using SwiftGenPlugin, it was confirmed that an error occurred in XcodeCloud that the generated file could not be found
When I googled it, it seemed that the same thing happened to other people (Reference: Xcode Cloud is not able to access swift-gen generated file)
At first I thought how to solve it, but as a result of trial and error, I was able to avoid it by creating a file automatically generated by ci_scripts/ci_post_clone.sh with the touch command
touch $CI_PROJECT_FILE_PATH/../XcodeCloudSamplePackage/Sources/XcodeCloudSamplePackage/Generated/StringsGenerated.swift
touch $CI_PROJECT_FILE_PATH/../XcodeCloudSamplePackage/Sources/XcodeCloudSamplePackage/Generated/CommonAssets.swift
Build Number
ipa uploaded to TestFlight must have a unique combination of app version and build number
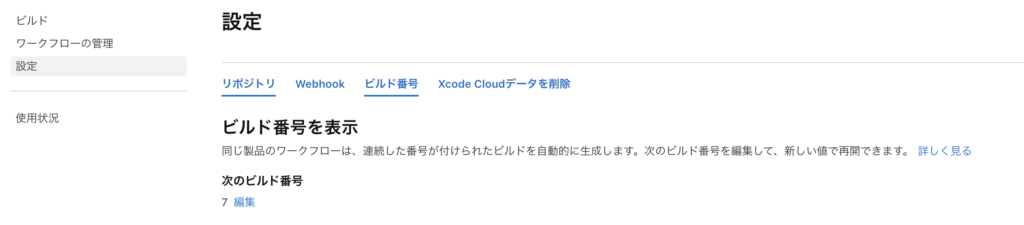
XcodeCloud automatically increments the build number, so there is no need for the developer to manage the build number.
Conversely, you can not customize the build number as I wrote before
You can check the build number from AppStoreConnect
You can also change the build number here
Configuring export compliance information
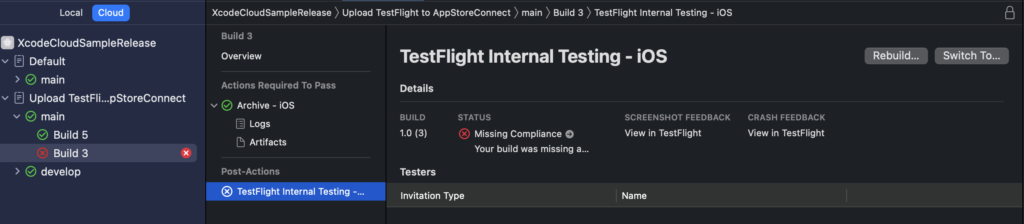
If you have set up to distribute the TestFlight app, if export compliance is not set, an error will occur at the TestFlight distribution step of XcodeCloud
There is no compliance on the AppStoreConnect TestFlight screen (Reference: Complying with Encryption Export Regulations)
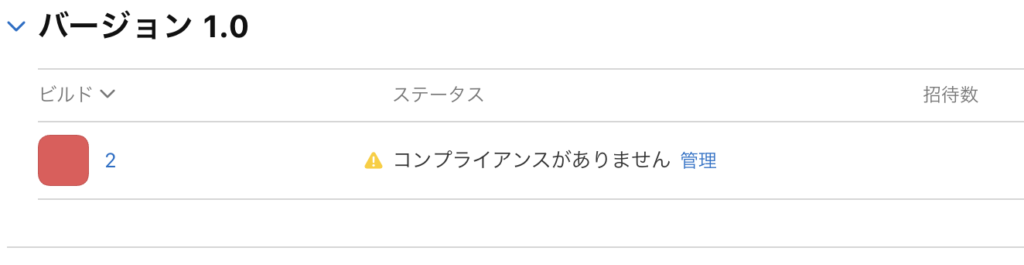
There is no problem when distributing the TestFlight application manually, but automatic distribution cannot be performed as it is, so let’s change the settings of the application.
Since we are only using standard encryption algorithms this time,
Specifically, add the setting App Uses Non-Exempt Encryption = NO to Info.plist as below
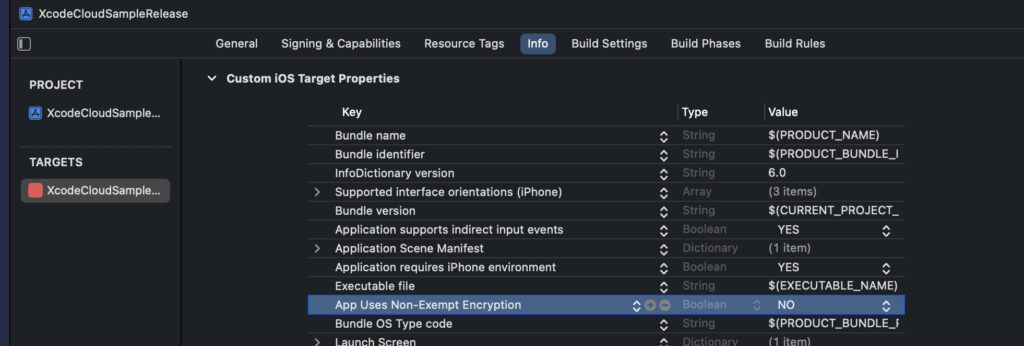
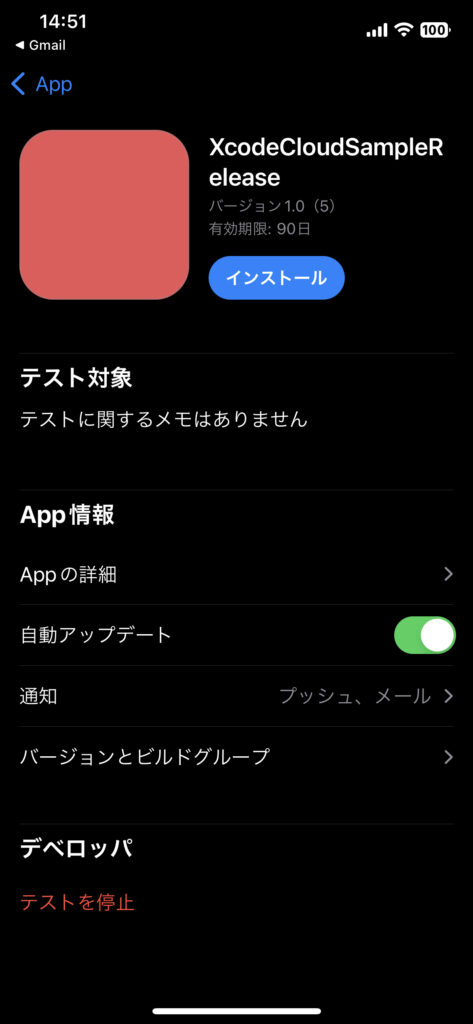
As you can see below, the TestFlight app has been delivered without being checked for compliance!

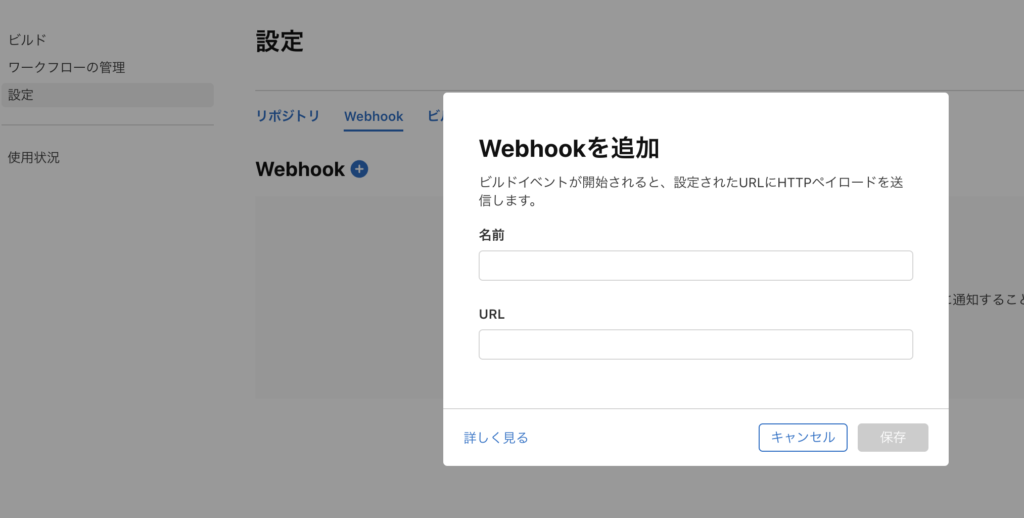
Webhook settings
You can also issue a Webhook URL from the AppStoreConnect settings screen
Wrap up
I tried using XcodeCloud for the first time this time
Since it is Apple genuine, I felt that the fact that there was no need to manage certificates and that uploading to TestFlight was easy was a big advantage.
On the other hand, there are still many restrictions, and I felt that it may be difficult to use depending on the architecture configuration.
However, I think that XcodeCloud will become more and more convenient in the future, and we will continue to develop on Apple’s platform, I felt that it would be better to aim for an app with a simple configuration, such as not using any tools!
Also, this time we mainly used Xcode, but AppStoreConnect has more functions and the logs are easier to read, so if you want to make detailed settings and analyzes, check with AppStoreConnect!