0.Introduction – Announcement and overview of SwiftHome
This article is based on the session presented at iOSDC2022, Make your home more convenient and safe with Swift! This is an article that summarizes the introduction to Part 0 of the announcement.
What is this announcement about?
This announcement is about implementing Swift on the Raspberry Pi and Heroku.
Specifically,
- Enhance existing smart home functions
- Monitor the status of your home
- Connect iPhone and Raspberry Pi via Heroku
Something like that!

I named this project SwiftHome this time!
What is a smart home?
- Enable control of home appliances via the network
- For example, turn on the lights in the living room from Google Home!
- “OK, Google, turn on the living room lights!”
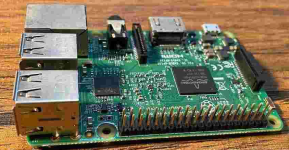
What is a Raspberry Pi?
- Official name for Raspberry Pi
- Small single board computer
- SD card with OS
What is Heroku?
- Service that provides the necessary platform to run applications (PaaS)
- Convenient and easy-to-use rental server An image like this
- This time, it will be used to deploy a server implemented with Vapor (one of the ServerSideSwift frameworks)
In short, smart home is good! ! This is the announcement! ! !
What to say/don’t say in this presentation
○Speaking
- Implementation of Swift and Vapor on Raspberry Pi and Heroku
- Among the functions to be realized, core implementation procedures and details (details are described in the blog)
- Failures in implementation and personal trial and error methods
×Don’t talk
- How to set up a Raspberry Pi
- Details and principles of technical elements mainly around the hardware
Notes on presentation content
- The presenter is not well versed in hardware technology
- The information presented may be inaccurate or lacking
- The code and repository that we are implementing this time are developed by an individual, so there are many places where architecture and security have not been properly considered
- Presentation time and slides due to space constraints, I can’t publish/write all the code and information, so please check the blog post (described later) for details
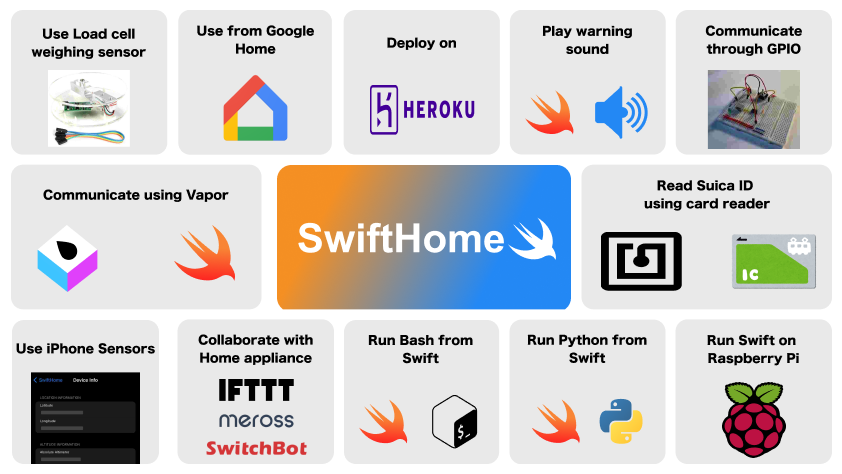
Implemented this time
I tried to put together what I implemented in SwiftHome this time in a certain OS style!
I will introduce the contents described here in this announcement and blog in order!
Configure SwiftHome
Three applications will appear in SwiftHome implemented this time.
-
SwiftHomeApp(Mobile app implemented on iPhone)- Send location information and elevation data to Heroku to determine if the user is at home
- Suica Scan ID and send to Heroku
-
SwiftHomeServer(Server application implemented with Vapor running on Heroku)- Implement API/WebSocket and send data
- Storing data in Postgres
-
SwiftHomeApp(running on Raspberry Pi Swift Package)- Using Raspberry Pi GPIO to operate LEDs, read sensor data
- Swift/Vapor implementation
- To operate home appliances , API execution of SwitchBot
- Execution of Python/Bash code from Swift
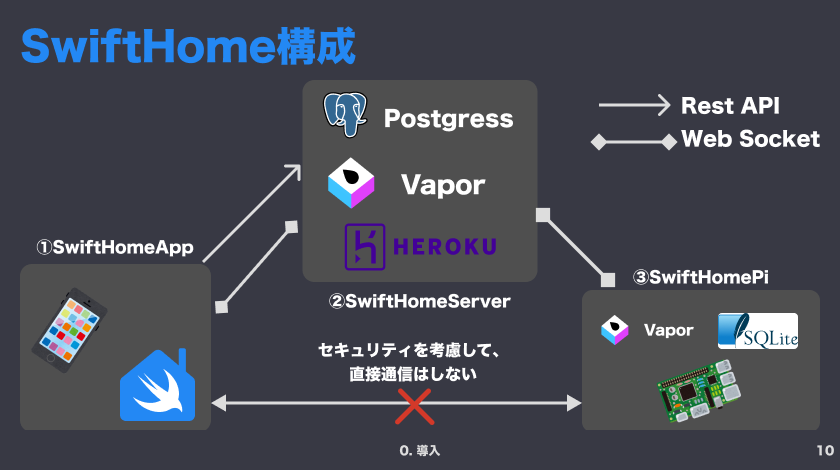
In SwiftHome, SwiftHomeApp and SwiftHomePi exchange data via SwiftHomeServer.
For communication, we use RestAPI and WebSocket communication.
In consideration of security, direct API communication to the Raspberry Pi is not allowed!
What are GPIOs?
- Abbreviation for ‘General Purpose Input/Output’, a general-purpose I/O port
- As shown below Each port has a different role, such as power supply, GND (negative), and I/O.
- You can connect LEDs, sensors, etc. to these pins and operate them by creating a circuit. Photos!)


Wrap up
This article summarizes the introductory content of the SwiftHome announcement.
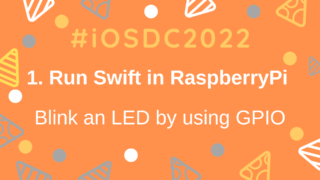
The next article will be “1. Running Swift on a Raspberry Pi – Blinking an LED using GPIO“!