I made self introduction slide with Swift!
I had the chance to join a new team and introduce myself.
Since it’s a big deal, I wanted to prepare something, and the other day, I saw SlideKit in the announcement of After iOSDC Japan 2022, so I decided to try to make slides using it!
Creating Slides with SlideKit
The implementation method is described in official tutorial, so this time make according to the method.
At the time of writing, SlideKit seemed to support only Xcode14, so prepare it if you are not ready.
First, install the command line tools
This time, create a Mintfile and run mint bootstrap.
mtj0928/SlideGenAnd use that command line tool to create a template project.
Since we will be creating a project for iOS this time, specify iOS for the platform.
mint run mtj0928/SlideGen SlideKitPresentation --platform iOSOnce the template project is generated, let’s open it in Xcode.
When I open the SceneDelegate.swift, it says:
import SlideKit
import SwiftUI
import UIKit

final class SceneDelegate: NSObject, SlideWindowSceneDelegate {

    /// A size of you slide
    static let slideSize = SlideSize.standard16_9

    /// A manager which handle external display.
    static let externalDisplayManager = ExternalDisplayManager(slideIndexController: slideIndexController)

    /// A slideIndexController. Add your slides to it's trailing closure.
    static let slideIndexController = SlideIndexController(index: 0) {
        // Add your slide here.
        SampleSlide()
    }

    var window: UIWindow?

    func scene(_ scene: UIScene, willConnectTo session: UISceneSession, options connectionOptions: UIScene.ConnectionOptions) {
        guard let windowScene = (scene as? UIWindowScene) else { return }

        if session.role == .externalDisplay && Self.externalDisplayManager.externalDisplayMode == .mirroring {
            return
        }

        self.window = makeRootWindow(
            windowScene: windowScene,
            slidePresentationMode: session.role == .externalDisplay ? .presentation : .presenter
        )
    }
}
Similar to SampleSlide in this set the View of the slide you want to display to SwiftUI > and add them in order under // Add your slide here., the slide will be displayed in that order with page numbers. !
Very easy!
Let’s take a look at the View on the next slide!
import SlideKit
import SwiftUI

struct HobbySlide: Slide {
    var body: some View {
        VStack {
            HeaderSlide("What I like") {
                Item("Eat something delicious especially Japanese food, Cooking")
                Item("Watch animation / Read comics(ONEPIECE, Gintama, Attack on Titan, SLAM DUNK)")
                Item("Tennis, Cycling, Fishing")
                Item("Gadget collection, IoT device, Apple device")
            }
            HeaderSlide("What I don't like / am not good at") {
                Item("Spicy food, Insect, Tabacco")
            }
        }
    }
}
SlideKit has a protocol called Slide, so basically create a View that conforms to that.
If you want to create a header, write HeaderSlide, and if you want to create a list within it, write Item. You can easily create a slide with a list as shown in the capture below.
By the way, this Item can also be nested, and you can also specify the View directly, so you can use Link to set text with a hyperlink, for example.

Also, of course, it is written in Swift, so it is possible to realize app-like behavior with slides.
The slide below shows random emojis displayed in a grid and shuffled with animation. (code here)
This is also possible because you create slides with Swift!
If you want, you can even embed the app itself into the slide!
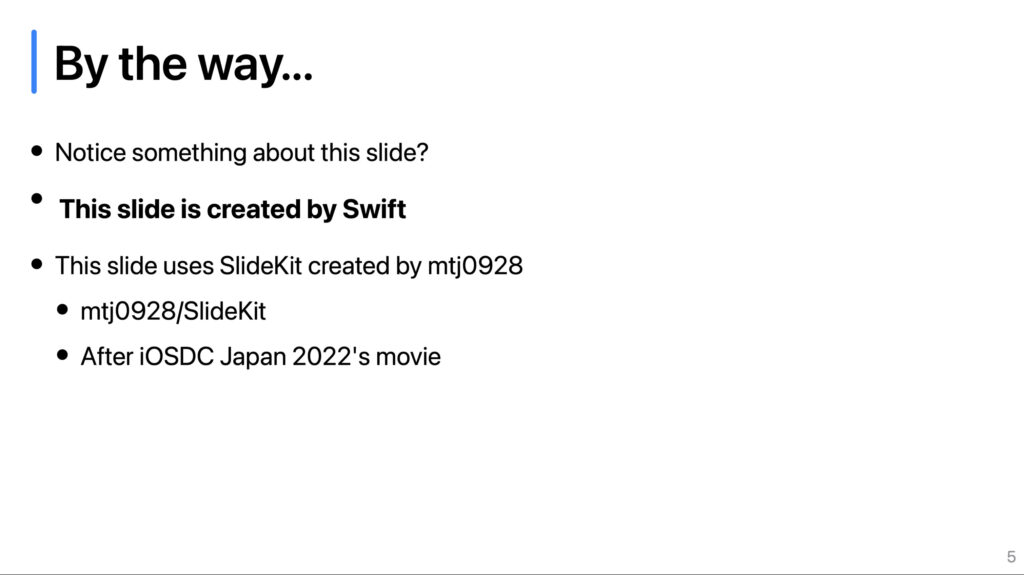
And this SlideKit can also be said to display an arbitrary View each time you “advance” within a single slide.
For example, if you want to display Item line by line.
The implementation creates a enum of SlidePhasedState that inherits from PhasedState.
The values of this enum are in turn assigned to the phasedStateStore so that you can get which enum value it is now.
Now you can use the when() and after() of the PropertyWrapper of the phasedStateStore to It can be displayed only under the following conditions.
struct SuggestionSlide: Slide {

    enum SlidePhasedState: Int, PhasedState {
        case initial, second, third
    }

    @Phase var phasedStateStore

    var body: some View {
        HeaderSlide("By the way...") {
            Item("Notice something about this slide?")
            if phasedStateStore.after(.second) {
                Item {
                    Label("This slide is created by Swift", image: "")
                        .font(.system(size: 50, weight: .bold))
                }
            }
            if phasedStateStore.after(.third) {
                Item("This slide uses SlideKit created by mtj0928") {
                    Item {
                        Link(destination: URL(string: "https://github.com/mtj0928/SlideKit")!) {
                            Text("mtj0928/SlideKit")
                        }
                    }
                    Item {
                        Link(destination: URL(string: "https://www.youtube.com/watch?v=TeXs08GvPGo?t=3010")!) {
                            Text("After iOSDC Japan 2022's movie")
                        }
                    }
                }
            }
        }
    }
}
When I actually built it, checked the operation, and proceeded with the slide, I was able to display the text in order in the slide as shown in the capture below!

Wrap up
Is it time to create slides with Swift…??